
We are looking for a Sewcial Influencer... if you think that can be you, then email us your details right away.
We are looking for someone who loves our sewing patterns (of which I know there are many of you)! You must be someone who really just loves to sew. All we require of you is that you have loads of followers on social media (preferably Instagram), at least 1,000 plus, who are also interested in sewing, and that you will regularly create gorgeous garments from our sewing patterns - that we will supply to you for FREE!
The influencer that we choose will be required to set up a Fiverr account (don’t sign up yet, we will send you the link), so yes! This is a paying gig too! We will pay $5+ per garment that you create and share for us! (The better your influence, the more we will be willing to pay).
So if you believe that this could be you email your name, a picture of yourself and your social media handles too, to sales@nonstopcraftcom – please also include a short description of yourself and how active you are online!
This week’s pattern for subscribers
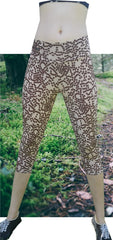
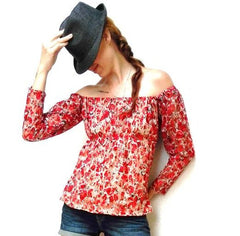
The Lucy Top
We love this fun, light batwing blouse, it looks great with jeans, with shorts, and as beach wear... in fact we love it so much that we’ve decided that it’s this week’s FREE sewing pattern going to our newsletter subscribers and Sewing Club Members (Not a member yet? Click Here to sign up today)

Featured pattern of the week
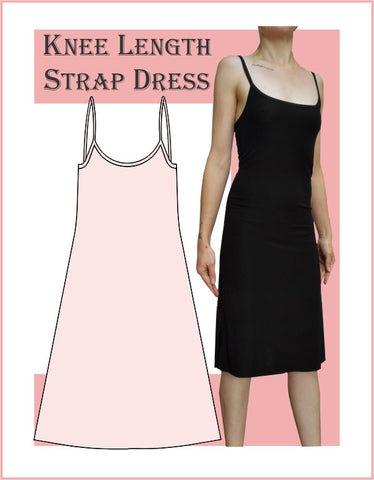
Strap Dress
With Valentine’s Day just around the corner as we enter the Month of Love, we think that this is the perfect dress to share with you. Our knee length strap dress sewing pattern makes the perfect Little Black Dress for those romantic dinner dates you may be going on.
Tutorial of the week
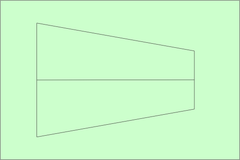
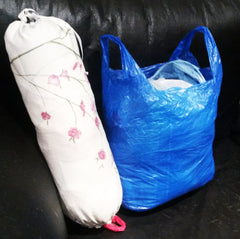
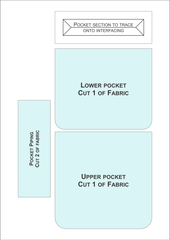
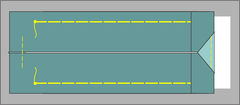
Reversible knot bag
This is our own take on the Japanese style knot bag. We have use two different fabrics to make it reversible and more versatile.

What you need:
CLICK HERE to download your free sewing pattern
1 yard / 1 meter each of 2 different fabrics
Sewing thread to match
Steps / Details:
** To help with the explanation process, we will refer to one of the fabrics as “the fabric” and the other as “the lining”
Your seam allowance, included in the sewing pattern is 1.5cm / 5/8”
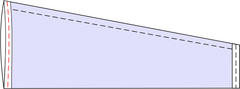
Step 1: Right sides facing of the fabric sew closed the seam along the sides and bottom

Step 2: Right sides facing of the lining, sew closed the seam along the sides and bottom BUT leave a gap open in the centre bottom of the seam, about 2” / 5cm long.

Step 3: Right sides facing, join the fabric and lining sections together along the handle sections, leaving the top of the handles not sewn. Clip along the curved seam.

Step 4: Through the gap in the lining’s base, pull your bag right side out. Press flat for a neat finish.
Step 5. For each of the straps: Right sides facing, line up the straps open ends with each other and pin together. Pull the strap, together through the hole in the base of the lining, so that one half of the strap is inside of the other. With right sides of fabric facing, sew closed the seam. Push the straps back through the gap in the bag and push them right side out, press for a neat finish.

Step 6: Stitch along the edges of the opening of the bag, about 5mm / 1/8” from the edge.

Step 7: Sew closed the gap in the bottom of the lining of the bag using a small, hidden stitch.
Your knot bag is now ready to use! Enjoy and... Happy Sewing!